Blogs
- Home
- Blog details
The Future of Chocolate Production: Automation & Efficiency
- By : nitin

Introduction: Why Chocolate Needs Innovation
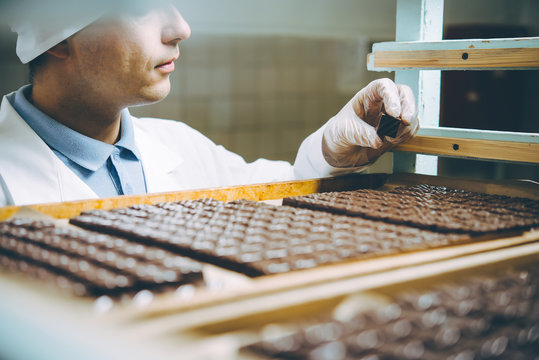
Chocolate has always been a symbol of indulgence, craftsmanship, and celebration. But behind every silky bar lies a process that demands precision, time, and consistency. Today, the confectionery world is evolving fast — and at the heart of this evolution is automated chocolate production.
At Culinext, we believe automation doesn’t replace artistry — it enhances it. By merging tradition with technology, the chocolate of tomorrow will be more sustainable, efficient, and creative than ever.
How Automation is Changing Chocolate Production
1. Precision & Consistency
One of the biggest challenges in traditional chocolate-making is maintaining consistency. Automated systems ensure every batch has the same shine, snap, and smoothness, eliminating human error while boosting quality.
Example: Robotic tempering machines at Culinext guarantee perfect crystal structures in every bar.
2. Speed Meets Efficiency
Manual processes can’t keep up with rising global demand. Automated chocolate production lines streamline tempering, molding, and packaging at speeds no human hand could match — while reducing waste and energy usage.
3. Innovation at Scale
Automation allows chocolatiers to experiment with new flavors, shapes, and textures without the risk of inefficiency. From filled pralines to custom shapes, automation lets creativity thrive while keeping costs in check.
Sustainability Through Automation
Sustainability is no longer optional — it’s essential. Automated chocolate production reduces waste, optimizes energy, and ensures raw materials are used responsibly. For eco-conscious consumers, this makes every bite guilt-free.
The Human Touch in an Automated Era
Some may fear that automation removes artistry. But at Culinext, automation is about freeing human chocolatiers to focus on innovation, flavor creation, and design — while machines handle the repetitive, high-precision tasks. It’s a perfect balance of art and science.
Conclusion: The Sweet Future of Chocolate
The future of chocolate is being shaped by automation, efficiency, and sustainability. With automated chocolate production, the industry is moving toward a world where every piece of chocolate is not just delicious, but also responsibly crafted.
At Culinext, we are proud to lead this transformation — delivering chocolates that honor tradition while embracing the future.
Related Posts
Popular Tags
Related Posts
Quick Links
Contact Information:
- Aruvi Mobility, Opposite Palakkad ITI West, Kanjikode, Palakkad, Kerala 678623
- +91 70344 40000, +91 73566 79416
- deepak@culinext.co, rithwik@culinext.co
- Monday to Saturday – 9:00 AM to 5:00 PM Closed on Sundays
- Privacy Policy
- Terms of Service


